You don’t want to bombard your user two minutes after they’ve left the checkout page or as soon as they've signed up. Therefore, Delay comes as a great feature in creating email sequences.
Please note that all the delays are considered with respect to the start of the automation.
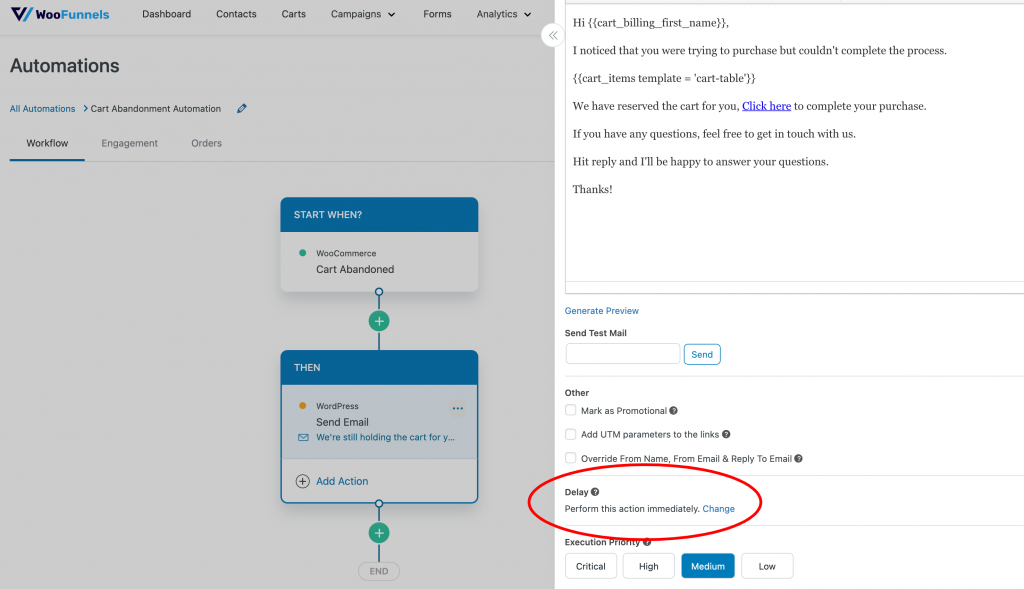
Here’s how you can set delays while creating automation in Autonami.
Step 1: Go to Add Action and then select Send Email, scroll down and you’ll see the section - Delay. Click on Change to modify the delay from its default 'immediately' status.
Step 2: Click on After a delay to start sending your automated emails after a certain period of time.
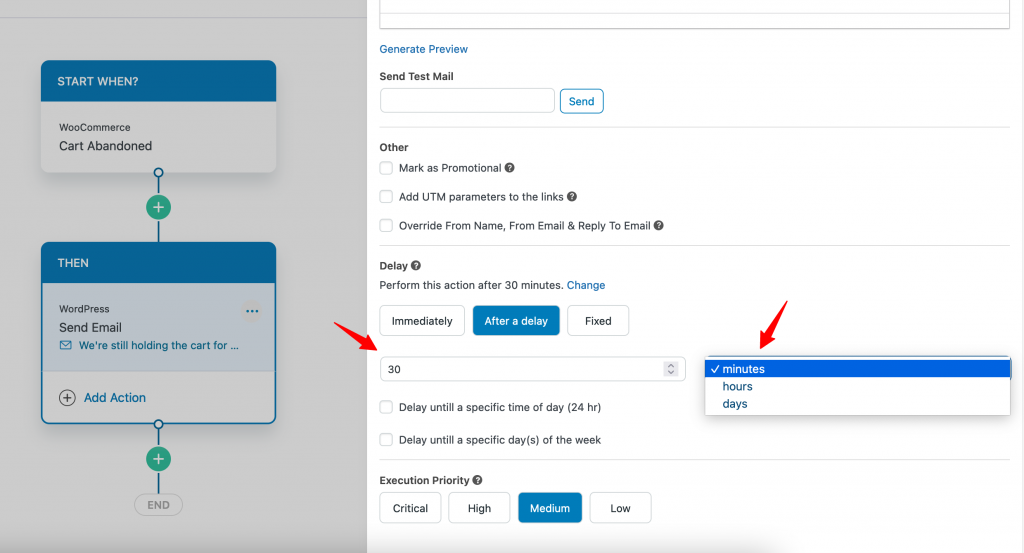
- Minutes/hours/days - Set the delay of your emails and SMSs in minutes, hours or days.
- Delay until a specific time of day (24 hr)/days of the week - You can even choose to send the messages at a particular time of the day and day of the week. For example, 8 pm Wednesday. This is as per the store's timezone.

Step 3: Once done, click anywhere outside the screen to save your automation. You’ll then return to the visual editor of Autonami.
Toggle the mode to active. Congratulations, you have set delays within your automation!